Photos Stug. III dio - WIP

razorboy

Mi Sergeant
MI.Net Member
Joined
May 30, 2009
Messages
113
Points
68
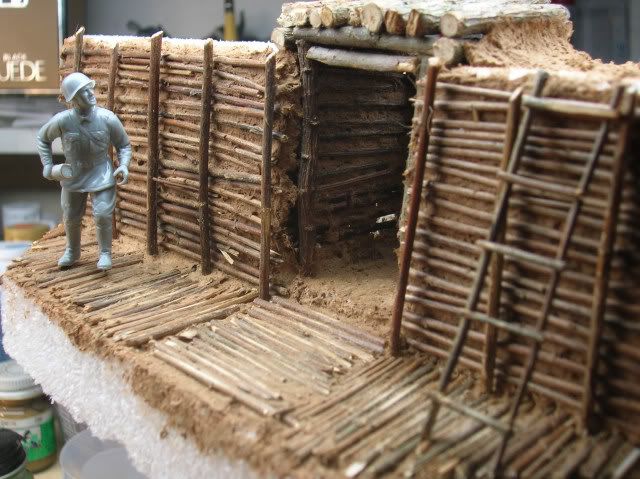
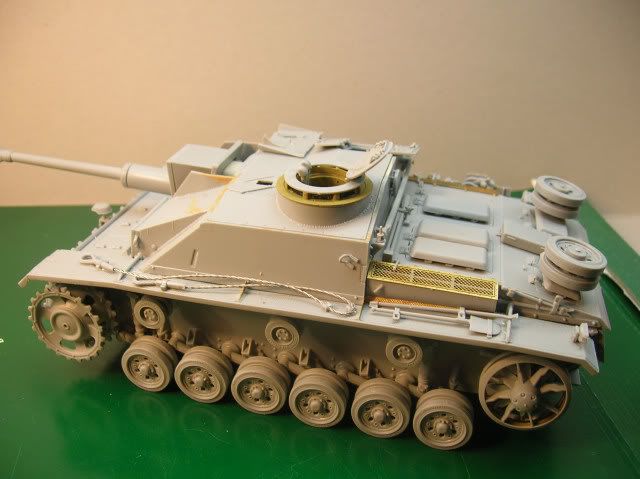
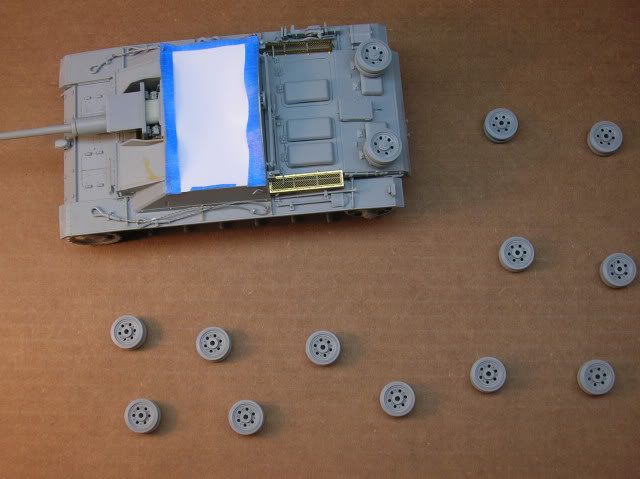
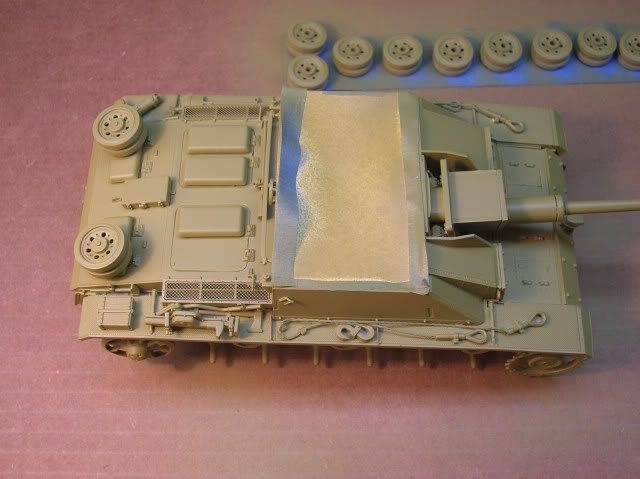
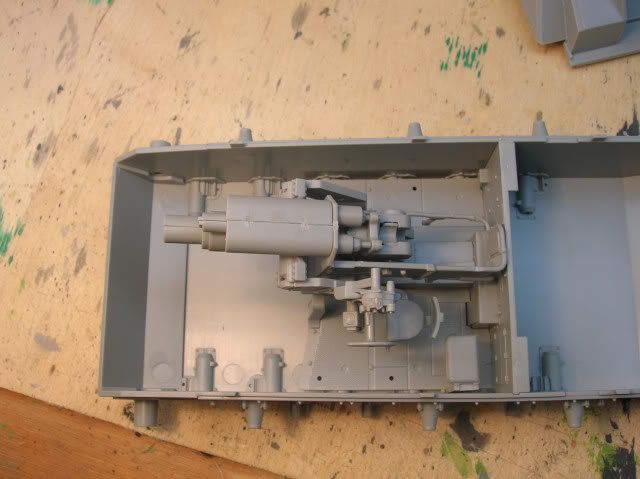
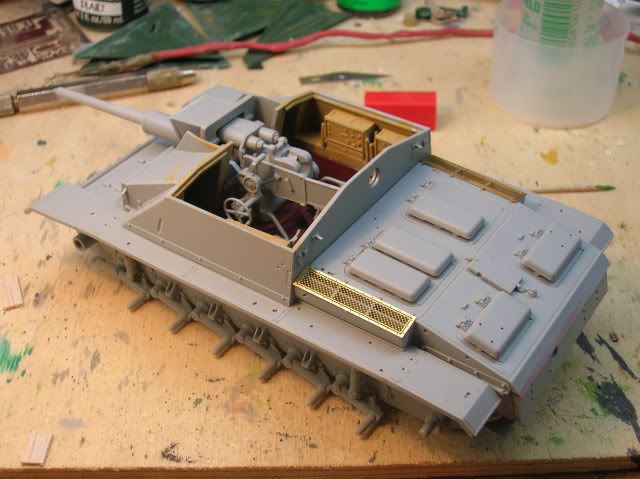
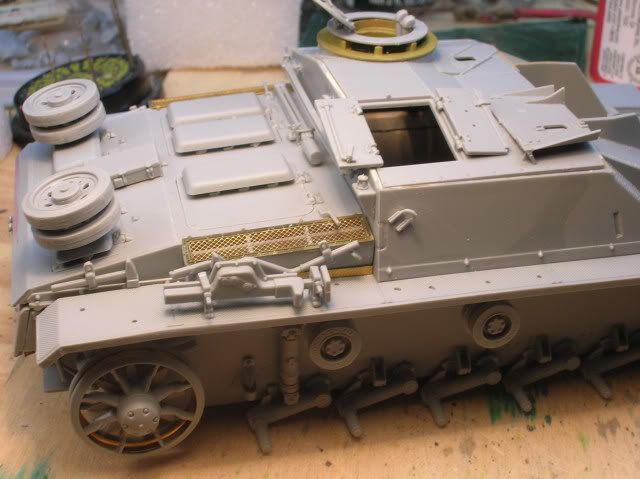
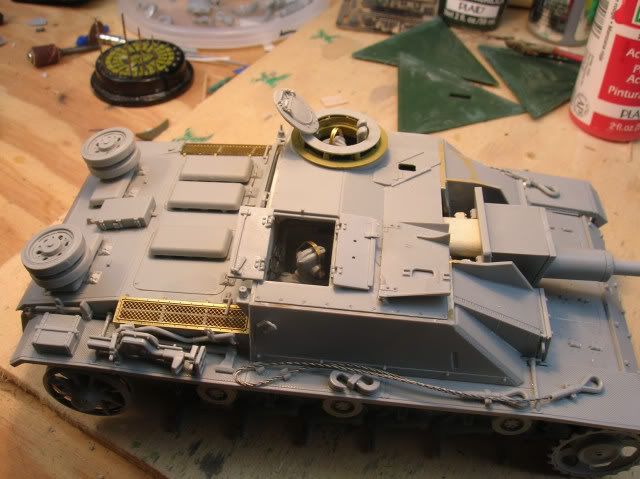
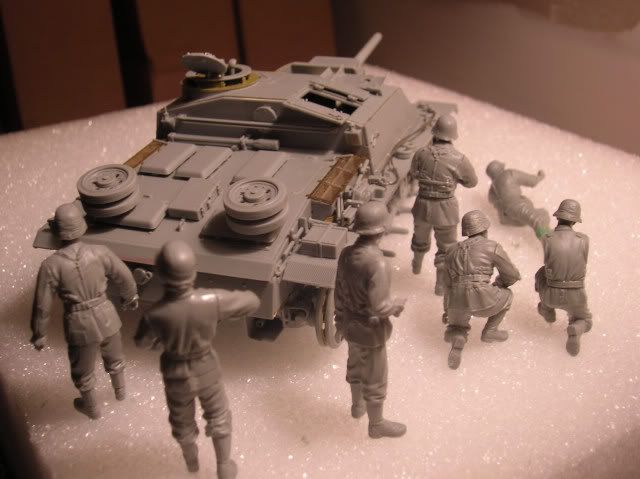
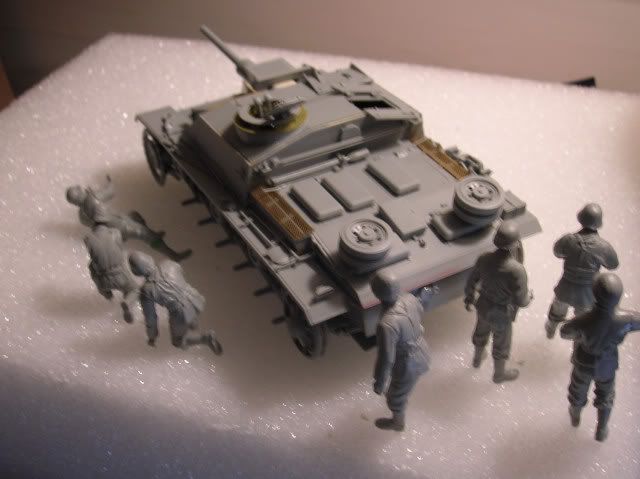
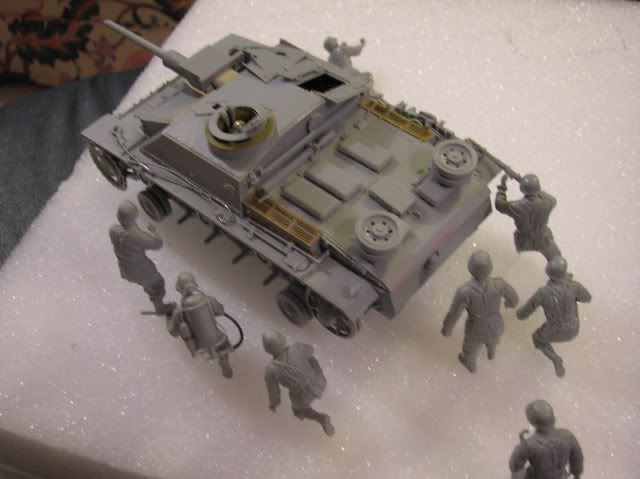
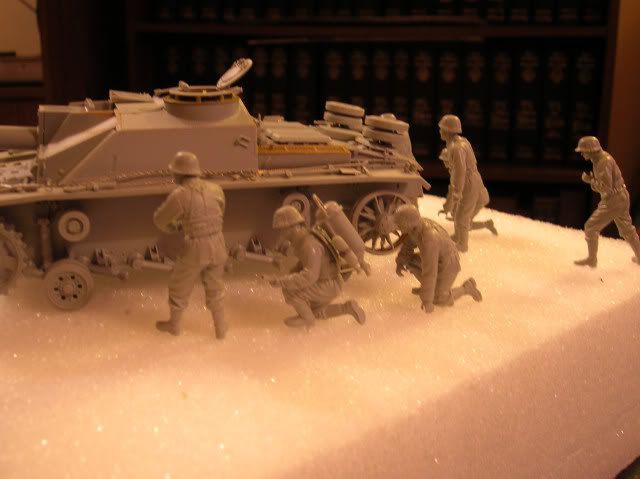
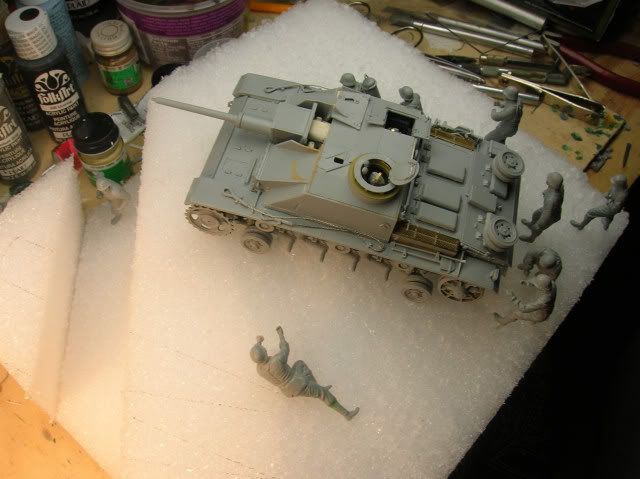
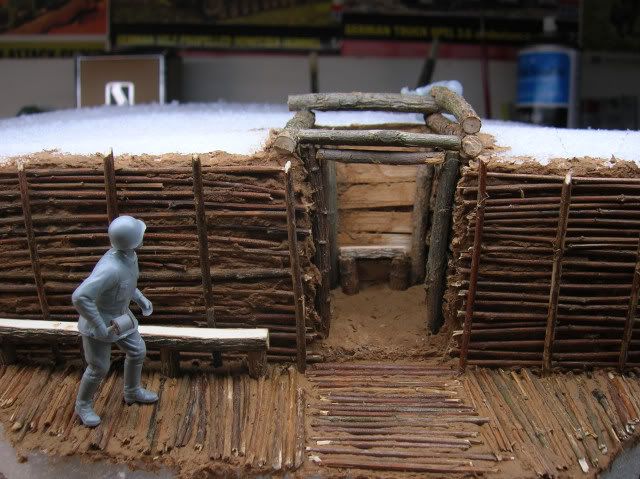
A while back I began a diorama project that I may actually finish! Set during the opening days of the Kursk Offensive it includes a Dragon 1/35 Sturmgeschutz III Ausf.G "Early" along with two crewmen (modified Dragon figs) and four or five Grenadiers (also from Dragon). The Stug. is supporting the clearing of a Soviet communications trench and the commander is surveying the next set of intrenchments in the distance.
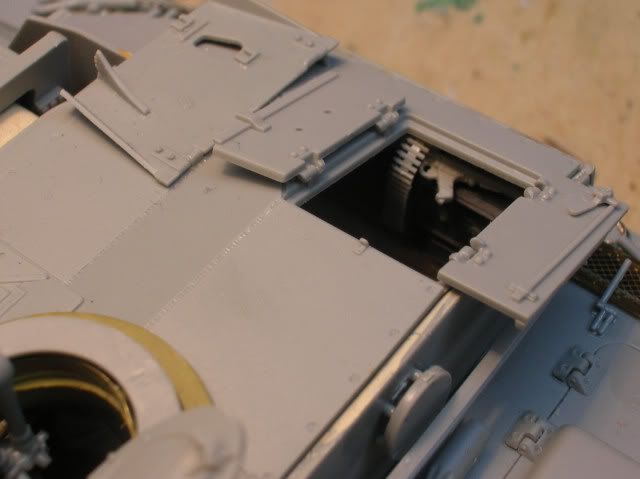
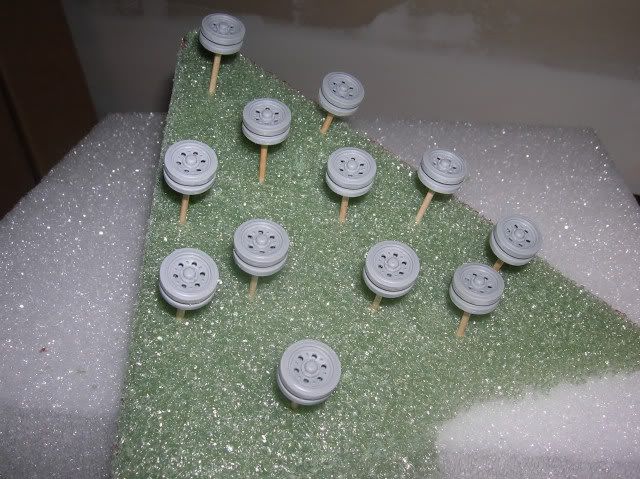
The tank:
DSCN2071.jpg

DSCN30630001.jpg

DSCN30340001.jpg

DSCN30760001.jpg

DSCN30990001.jpg

DSCN31110001.jpg

DSCN31100001.jpg


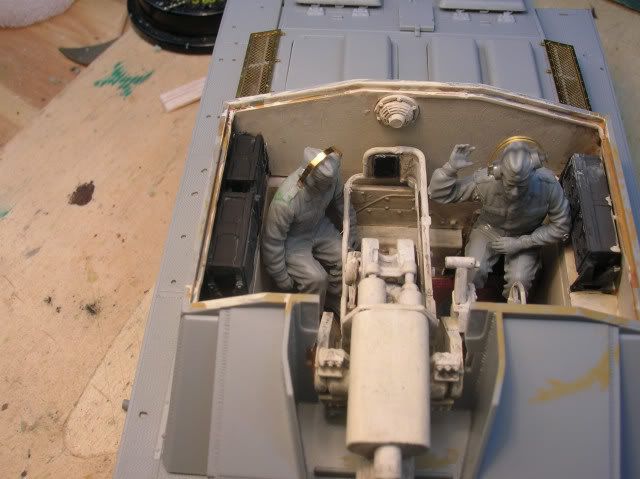
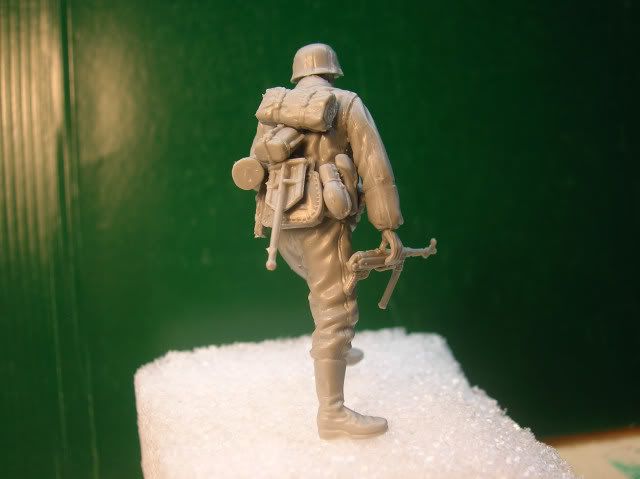
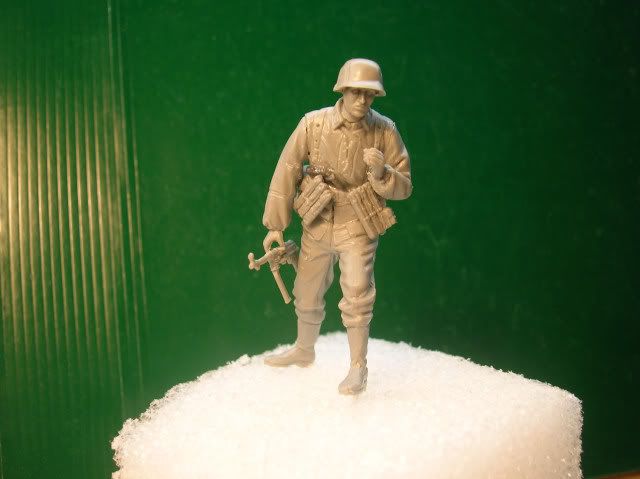
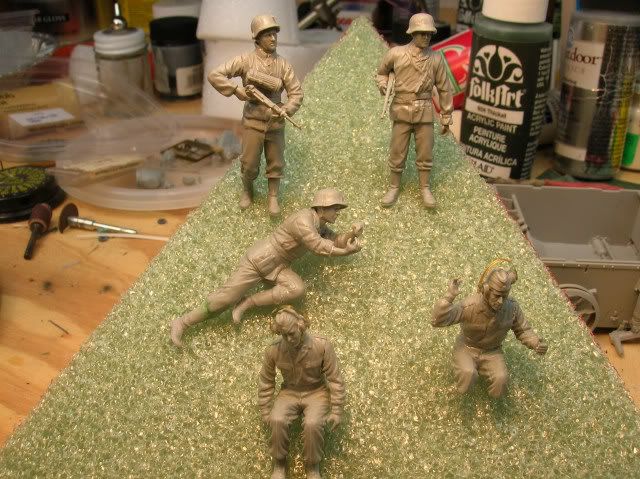
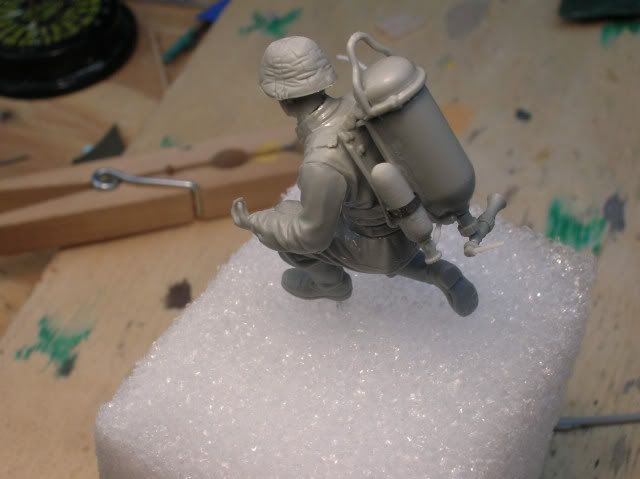
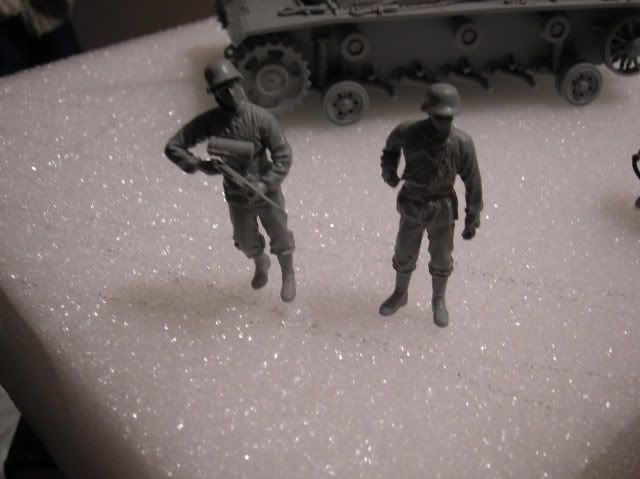
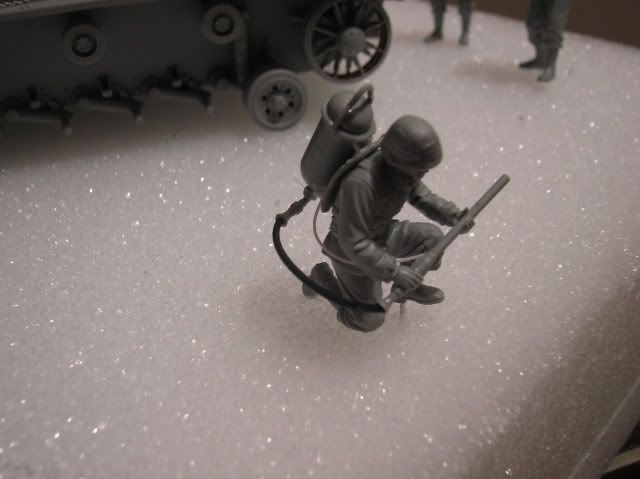
The Cast of Characters:
DSCN30880001.jpg

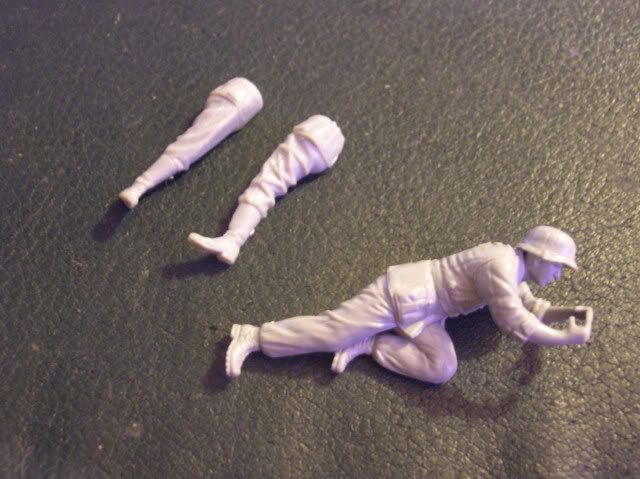
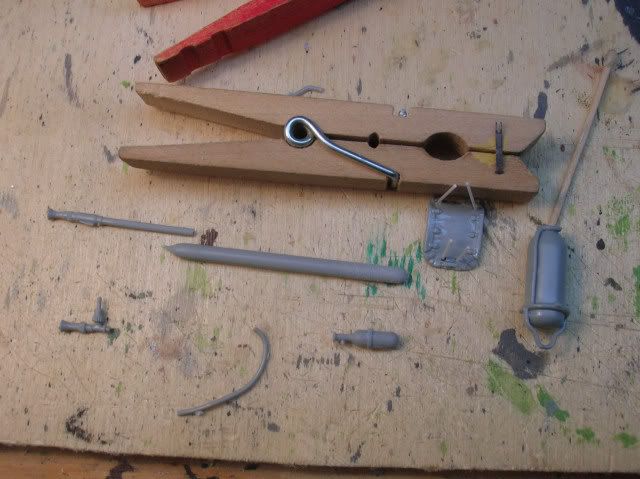
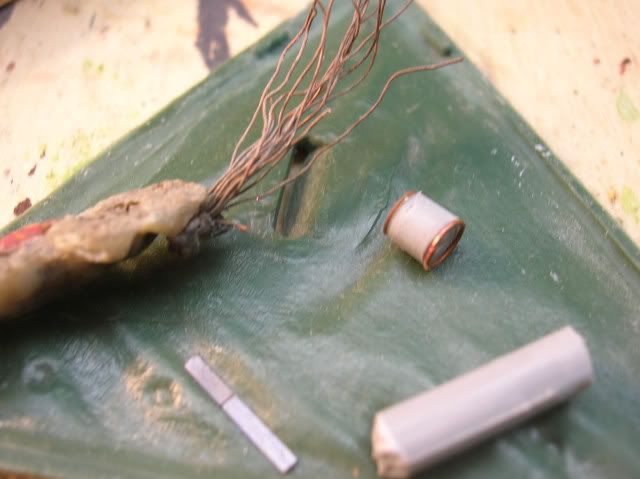
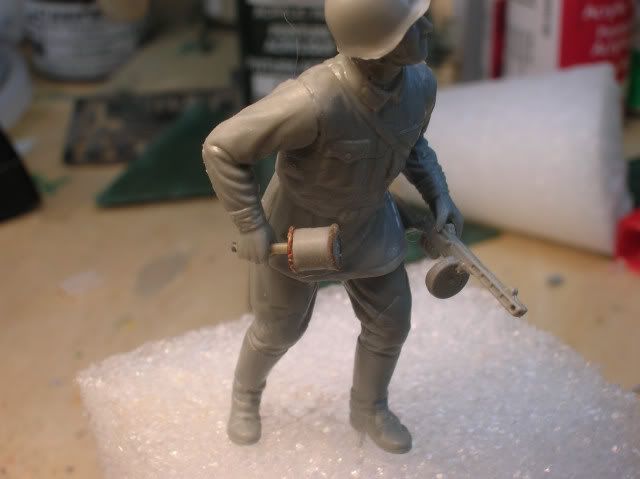
I converted "Grenade Guy 1" from a Gebirgsjager mortarman by removing the climbing boots and adding the jackboots from another figure.
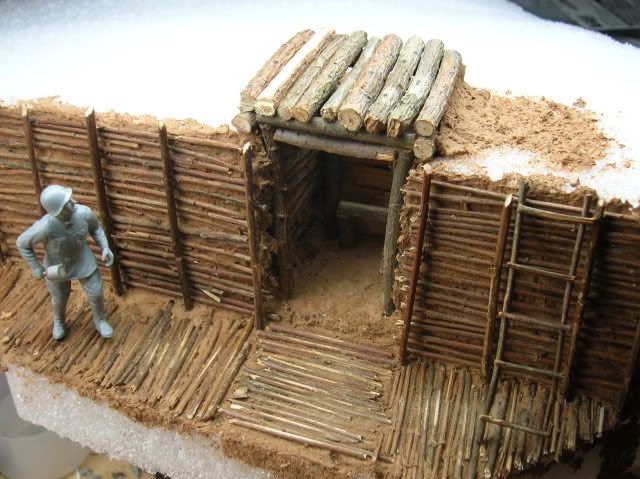
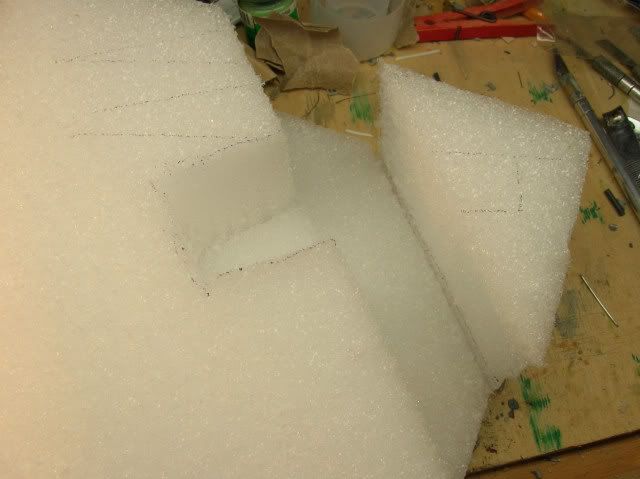
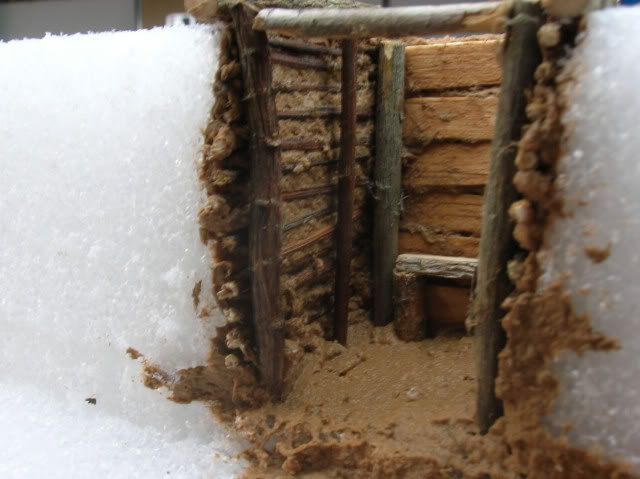
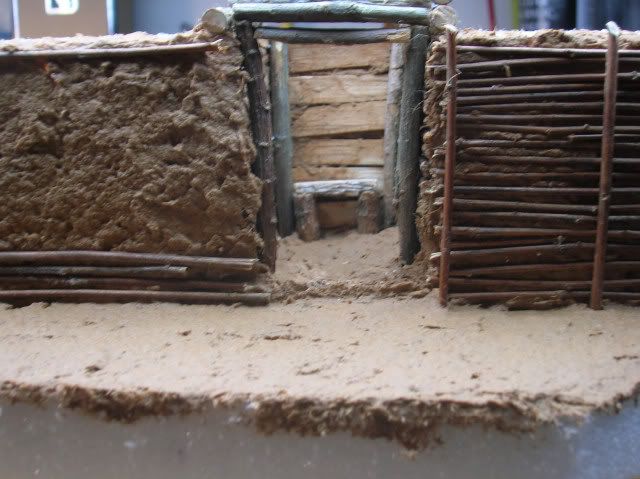
DSCN30520001.jpg


The Base:
DSCN30690001-1.jpg

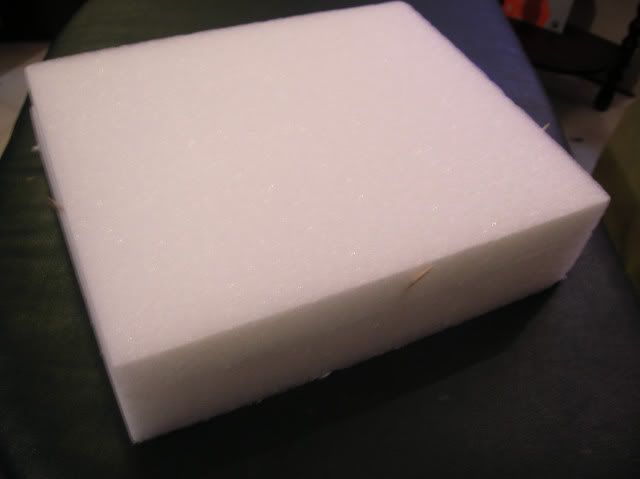
I "sandwich-glued" two pieces of styrofoam resulting in a piece that is 10" x 12" x 3 1/4" thick. I have yet to begin construction on the trenchline or the surface, that is forthcoming.

I will keep you updated.
rb
 
I got all of the upper hull finished except for a handle, couple of fender braces and 'no-tek' headlamp.
DSCN31270001.jpg

razorboy
 
I've decided upon a total of nine figures (two Crew figures, and seven Infantry) in this diorama, the highest figure count in one diorama for me to date.
DSCN31550001.jpg

DSCN31540001.jpg

I haven't as yet attached "Flammenwerfer Guy's" arms yet, I'll need to fit the Flammenwerfer 'rig' first to insure proper alignment. After I cut the trenchline into the foam, I'll have a better idea how the final figure positioning will be handled.
rb
 
I started working again on "flammenwerfer guy" this evening. I didn't care much for the out of the box rig, so I have made some modifications. The molding on the hydrogen bottle (small bottle) didn't suit me so I made my own out of sprue and added a 'leftover' PE strap and buckle from my M41 project:
DSCN31580001.jpg


I used some Evergreen Brand .020" white styrene rod for the hydrogen propellant line and added another shorter piece for the flow handle on the fitting at the bottom of the fuel tank -
DSCN31640001.jpg


- and some black tubing from my Tamiya 88mm Flak gun kit for the fuel line:
DSCN31670001.jpg

- after it has dried overnight on the first end glued, I'll glue the other end, then do a bit of work on that gap between the frame and the belt.

razorboy

**** The Germans favored a mixture of gasoline and tar (the tar supposedly added to the range) ..... sounds pretty nasty to me - not something I want to be hit with!
rb
 
I have determined that these two knuckleheads are way to relaxed in their stances and must be replaced -
DSCN31750001.jpg

- their replacements are on the way.
"Flammenwerfer Guy" is assembled and needs a little filling here and there and some final seam removal before painting -
DSCN31740001.jpg

razorboy
 
I've assembled all of the German figures I'll be using although they may or may not be in their final locations on the base in these pictures:
DSCN31800001.jpg

DSCN31810001.jpg

rb
 
I guess I should at this point, explain the storyline as it has developed in my mind. This squad of assault troops have followed a Stug. up to a communications trench, using the Stug. as small arms cover.
The squad has positioned themselves as close as is possible to the trenchline, assaulting it in about 5 seconds - as soon as grenade guys one and two have thrown their stick grenades.
The group on the left have lined up in order of travel with "Flammenwerfer Guy" in front, closely followed by Flammenwerfer's assistant, and "Bayonette Guy" following third.
Around the right side of the Stug. "MG Gunner" is closely followed by "MG Assistants" one and two, both carrying ammo cans and ready to follow him as soon as the grenades go off and he no longer needs to cover the "Bunker" on the trenchline.
"Grenade Guy 1" (prone) will follow those three around the right, while after throwing his grenade (Grenade Guy 2 - standing) he follows "Bayonette Guy" and is fourth in line around the left of the Stug..
"Squad Leader" will go around either side that pleases him once the rush begins, afterall, he is in charge.
That is what I have envisioned and once the groundwork starts to develop that may change a bit here or there depending upon any unforseen constraints in construction but for the most part - that is the story.
Thanks for following,
razorboy
 
I worked on "Russian 1" today, he has a scratchbuilt RPG-40 in his right hand. The RPG-40 was a hand-held anti tank grenade and looked a great deal like a short can on a stick. To duplicate the "can", I used a piece of sprue and added the "rings" from fine gauge wire -
RPG-40:
DSCN31830001.jpg

DSCN31850001.jpg

rb
 
Been on somewhat of an extended "Christmas Break" .... back to work on it this week!
rb
 
Cut my terrain contour and started on the trench and observation post this morning:
DSCN32120001.jpg

DSCN32140001.jpg

DSCN32170001.jpg

- Still wet, the celluclay looks a bit sloppy .... once it firms up, I'll smooth it out some.....
DSCN32180001.jpg

DSCN32190001.jpg

Less than 10% of the 'O.P.' interior will be visible when the diorama is completed though I still feel the need to complete it.
rb
 
I have nearly completed the trench construction today. Some touch up with Celluclay and paint as well as final weathering is still pending -
DSCN32300001.jpg

DSCN32350001.jpg

Next I will finish the O.P. roof, then it's back to the Stug.III to finish her and the crewmen. I won't finish the ground work until the Stug. & crew as well as the infantry are finished and have been assigned their final positions on the base.
razorboy
 
Thanks for keeping us updated mate - looking great so far! solthum
 
Thanks Bombardier, I appreciate you following this build. More to come soon.
rb
 
I didn't care for the way that "Fire Step" log looked so after researching a few more photos, it was removed and a handmade ladder added - I think it "Fits" better:
DSCN32470001.jpg

As you can see, the log roof is completed - eventually it will be covered with a scale canvas, then dirt and sod, leaving only the log ends on the front side visible:
DSCN32460001.jpg

razorboy
 
I finished the Stug construction today(except the tracks) and now she's ready for some paint - dunkelgreb oversprayed lightly with rotes braun:
DSCN32510001.jpg

I also added the loaders MG 42 with ammo belt stowed and visible:
DSCN32490001.jpg

rb
 
I worked on the "Squad Leader" last night and got all of his equipment attached (except for his binoculars and MP40) and today will give him the once-over for any needed filling and additional seam removal. I will work on the "Grip" appearance of his hands prior to permanently affixing the binoculars and MP40. The kit shows him with a stick grenade in his belt and I have forgone that and substituted a signal (flare) gun instead.
DSCN32760001.jpg

DSCN32770001.jpg


I am almost ready to shoot some paint on the Stug. -
DSCN32810001.jpg


- but at this point I am undecided as to wether I will use a canvas cover on the gun mantlet or not. If I do, it needs to be done prior to spraying. I'll decided on that sometime today.
razorboy
 
I got the base coat down on the Stug and inside of the road wheels last night.
DSCN32850001.jpg

Some touch up here and there on the hull and rear, paint the other side of the wheels, paint the fighting compartment roof section, then shoot some camo..
rb
 

Similar threads

Back
Top